CNC Lathe Pre-Purchase Inspection Checklist for Importers
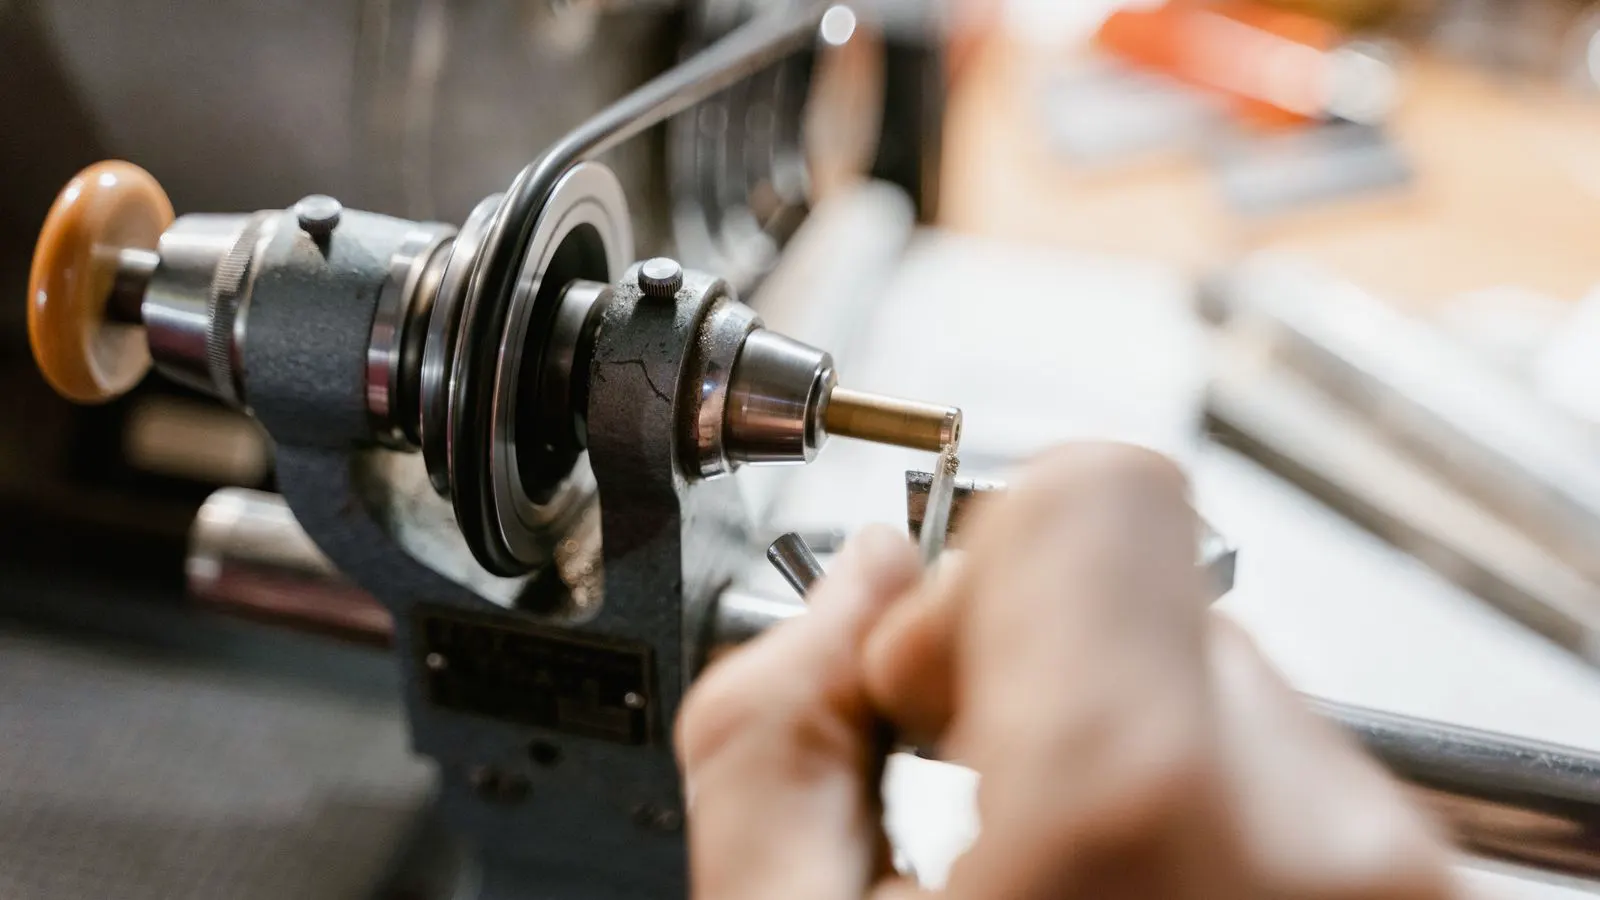
A structured inspection checklist helps importers verify CNC lathe geometry, hydraulics, and controls upon delivery. This guide lists specific checks for machine acceptance testing and import QC to prevent costly issues.
- Verify machine geometry and spindle runout before accepting a new CNC lathe.
- Run a full machine acceptance test covering axes, hydraulics, and controls.
- Check import documentation and safety features to avoid compliance delays.
- Record all test data to support warranty claims and future maintenance.
- Use this checklist as a standard for your import QC process.
Why a Formal Inspection Checklist Matters
Receiving a CNC lathe from overseas is a high-stakes moment. The machine represents a major capital investment, and any defect found after installation is far more expensive to resolve. A formal inspection checklist, often part of machine acceptance testing, provides a standardized way to verify that the equipment meets the purchase order specifications.
This process is not just about paperwork. It is a technical audit of the machine’s mechanical, hydraulic, and electronic systems. If the supplier has not already performed a pre-shipment inspection, you must do it upon delivery. This guide provides a detailed, copyable checklist for your import QC checklist.
Verify Machine Geometry and Alignment
Geometry checks are the foundation of turning accuracy. If the machine is out of alignment, no amount of toolpath correction will fix the part. You need to use a precision test bar and an indicator set.
- Spindle Runout: Mount a high-quality test bar in the spindle. Place a dial indicator against the bar’s OD. Rotate the spindle at both low and high speeds. Runout must be within the manufacturer’s tolerance. Excessive runout indicates a worn spindle bearing or a misaligned drawbar.
- Saddle Squareness: Check the relationship between the X-axis and Z-axis. Measure the deviation across the travel range. A significant deviation means the saddle ways are not perpendicular to the spindle centerline.
- Saddle Parallelism: Verify that the saddle moves parallel to the carriage. Use a straightedge or a precision level. Misalignment here causes inconsistent surface finishes and tool wear.
- Cross Slide Accuracy: Check the cross slide for lost motion and parallelism. This is critical for accurate diameter turning.
| Check Item | Typical Acceptance Method | Red Flag |
|---|---|---|
| Spindle Runout | Dial indicator on test bar | Runout exceeds 0.02mm |
| X-Z Squareness | Indicator on saddle ways | Deviation > 0.01mm/m |
| Saddle Parallelism | Straightedge across ways | Visible gap or rocking |
| Cross Slide Accuracy | Indicator on slide face | Lost motion or binding |
Inspect Spindle and Drive Systems
The spindle is the heart of the turning center. You need to listen and feel for anything abnormal.
- Noise: Run the spindle at various speeds. Listen for whining, grinding, or humming. These sounds usually point to bearing wear or a broken gear tooth.
- Heat: Touch the spindle housing after a test run. It should be warm, not hot. Excessive heat indicates poor lubrication or friction.
- Lube System: Check the oil level and flow. Ensure the lubrication pump is primed and delivering oil to the spindle bearings. A dry lube system will destroy the machine quickly.
- Taper Lock: Test the taper lock mechanism. It must hold the workpiece securely. A loose taper causes workpiece movement and safety hazards.
Check Hydraulic and Pneumatic Systems
Hydraulics control the chuck, tailstock, and often the tool changer. Pneumatics control the clamps and air blowers.
- Pressure: Verify that the hydraulic and pneumatic pressure matches the nameplate specs. Low pressure means weak clamping force.
- Leakage: Inspect all hoses, fittings, and actuators. Look for weeping or dripping. A small leak now becomes a puddle under production loads.
- Chuck Operation: Cycle the chuck through all three jaws. They must tighten and release smoothly and synchronously. Check for uneven clamping force.
- Tailstock: Test the tailstock quill. It should move smoothly without sticking. The quill lock must engage positively.
Audit Controls and Software
The CNC control is the brain of the machine. You need to ensure it functions correctly and is ready for programming.
- Alarm History: Clear the alarm log. If there are recurring alarms, the machine has a latent fault.
- Axis Limits: Check the home position and soft limits. The machine should not move beyond its mechanical limits.
- Tool Offset: Verify that tool offsets can be entered and saved. Test the tool length and radius compensation.
- Communication Ports: Test the serial, Ethernet, and DNC ports. If you plan to use remote programming or monitoring, these ports must work.
- Backup: Ensure the control has a backup routine. You need a way to save and restore the machine’s data.
Review Documentation and Safety
Paperwork is part of the machine. Without it, you cannot service the equipment or prove compliance.
- Manuals: Check for the operator’s manual, service manual, and electrical drawings. They must be in English or your local language.
- Warranty: Verify the warranty terms. What is covered? What is the response time? Is it a local warranty?
- Safety Devices: Test the emergency stop, light curtain, and door interlocks. These are non-negotiable for operator safety.
- Compliance: Check for CE, UL, or local certification marks. This affects your ability to operate the machine legally.
- Spare Parts: Confirm the list of included spare parts. Typically, this includes filters, belts, and fuses.
Final Acceptance Test
Before you sign the delivery note, run a final test.
- Dry Run: Run a simple program without a tool. Check for collisions.
- Cutting Test: Cut a test piece using the intended material and tool. Check dimensions and surface finish.
- Coolant System: Verify that the coolant pump, nozzles, and tank are working.
- Chip Management: Check the chip conveyor or collection system.
- Cleanliness: Ensure the machine is clean. No oil drips or coolant spills.
Common Mistakes to Avoid
Importers often make the same mistakes. Here are the ones to watch for.
- Skipping the Geometry Check: Many buyers assume the machine is aligned. It is not. Always check.
- Ignoring the Hydraulic Pressure: Low pressure is a common issue. It leads to poor clamping and part damage.
- Not Testing the Control: A control that works in the factory may fail in the field. Test every axis and function.
- Missing the Warranty: If the warranty is not in writing, it does not exist. Get it in writing.
- Accepting Without a Test Cut: A dry run is not enough. You need to cut a part to verify accuracy.
How to Record Your Findings
Keep a detailed record of your inspection. This record is your warranty claim document.
- Date and Time: Record the exact date and time of the inspection.
- Personnel: List the names of the people who performed the checks.
- Measurements: Record all measured values. Do not just write “pass” or “fail”.
- Photos: Take photos of any defects.
- Communication: Send the inspection report to the supplier immediately. Do not wait.
Conclusion
A CNC lathe inspection is not a formality. It is a technical process that protects your investment. By following this checklist, you can identify defects before they become problems. Use this guide as a standard for your import QC process. It will save you time, money, and headaches.
Frequently asked questions
What is the most common defect found in imported CNC lathes?
Low hydraulic pressure and incorrect spindle runout are the two most frequent issues. Both can be checked with basic tools.
Do I need a certified inspector to perform the machine acceptance testing?
Not necessarily, but having someone with experience in machine geometry helps. If you are not confident, hire a local third-party inspection service.
Can I run the machine immediately after delivery?
You should run a basic test, but do not start production. First, complete the full inspection and check for any latent faults.
What should I do if the machine fails the inspection?
Document the failure, take photos, and send the report to the supplier. Do not sign the delivery note until the issues are resolved.
Is a cutting test necessary?
Yes. A dry run does not prove that the machine can hold tolerance. A simple cutting test verifies accuracy and surface finish.