CNC Machine Service Checklist: 10 Critical Points for Daily Inspection
A daily machine service routine protects CNC tooling, ways, and controls. This checklist covers coolant, hydraulics, alarms, and safety checks. It helps operators catch small faults before they become costly repairs.
- Daily machine service catches coolant and hydraulic leaks before they damage ways or electrical parts.
- A short checklist reduces downtime and protects the investment in the machine.
- Operators should record findings and report abnormalities immediately.
- Consistent preventive maintenance extends the life of spindles, drives, and controls.
- Use this cnc maintenance list as a baseline and adjust it for your specific machine type.
Why Daily Checks Matter
A machine service routine is the first line of defense against unexpected downtime. Most major failures begin with small signs, such as a low coolant level, a strange noise, or a warning light that operators learn to ignore. A short daily check takes minutes but protects the ways, spindle, and control cabinet from damage. This routine also supports preventive maintenance by giving technicians early warnings of wear.
The checklist below is grouped by theme. It is designed for operators who need a quick way to verify machine health before the first job of the day. Keep it at the machine or on a tablet. Record each item, note any red flags, and report problems to maintenance.
1. Coolant System Check
The coolant system does more than remove chips. It cools the tool, the workpiece, and the spindle. A dry or dirty coolant system leads to poor surface finish, tool wear, and heat buildup. Check the coolant tank level first. The level should be at the manufacturer’s mark, not guessed. Look for contamination. If the coolant is milky, oily, or has a foul smell, it may be contaminated. Check the pump flow. Run the pump and listen for a change in sound. A weak or noisy pump often means the impeller is worn or a bearing is failing. Also check the nozzle pressure. If the spray is weak, the nozzles are likely clogged. Clear clogs during the same service.
Red flags:
- Coolant level below the minimum mark.
- Oily film on the coolant surface.
- Unusual pump noise or vibration.
- Weak or missing coolant spray.
2. Hydraulic and Lubrication System
Hydraulic pressure powers the clamps, doors, and some axes. Low pressure causes slow motion, weak clamping, and inconsistent positioning. Check the hydraulic tank level. Top it up with the correct fluid. Look for oil stains on the floor and around the tank. A fresh stain is an active leak. Check the oil pressure gauge if your machine has one. The needle should stay in the normal range during a test cycle. If the gauge is missing or unreliable, listen for changes in sound. A whining pump often indicates low fluid or air in the line. For lubrication, check the automatic oiler level. If it runs low, the ways and guideways may dry out. Look for oil residue on the ways. Too much oil can attract chips. Too little causes wear.
Red flags:
- Low hydraulic fluid level.
- Oil stains on the floor or machine frame.
- Abnormal pump noise.
- Gauge pressure out of range.
- Dry ways or excessive oil buildup.
3. Ways and Guideways
Ways and guideways guide the moving axes. They need clean lubricant and protection from chips. Wipe the ways with a clean cloth after the previous shift. Look for metal chips, coolant residue, or dried oil. Inspect the guideway blocks if accessible. Look for scoring, pitting, or uneven wear. A rough way causes vibration and poor accuracy. Check for leaks from the lubrication nozzles. If a nozzle is blocked, clean it. If a bearing is worn, replace it. Do not run the machine with damaged guideways. This can lead to axis error and poor surface finish.
Red flags:
- Chips trapped in the ways.
- Rough or noisy axis movement.
- Blocked or leaking lubrication nozzles.
- Visible scoring or pitting on guideways.
4. Spindle and Tooling
The spindle is the heart of the machine. Check the tool holders for wear and damage. Look for chips in the taper seats. A dirty taper causes runout and poor tool retention. Check the tool nose for damage. A chipped or worn nose reduces cutting performance. Inspect the spindle for unusual noise. Run the spindle at low speed and listen. A grinding or whining sound may indicate a bearing issue. Check the spindle brake if equipped. Test it for proper engagement. A weak brake can cause tool drop or slow rotation. Also check the spindle taper lock. If it is loose, the tool may shift during cutting.
Red flags:
- Chips in the tool taper.
- Worn or chipped tool noses.
- Unusual spindle noise.
- Loose or damaged taper lock.
- Weak spindle brake.
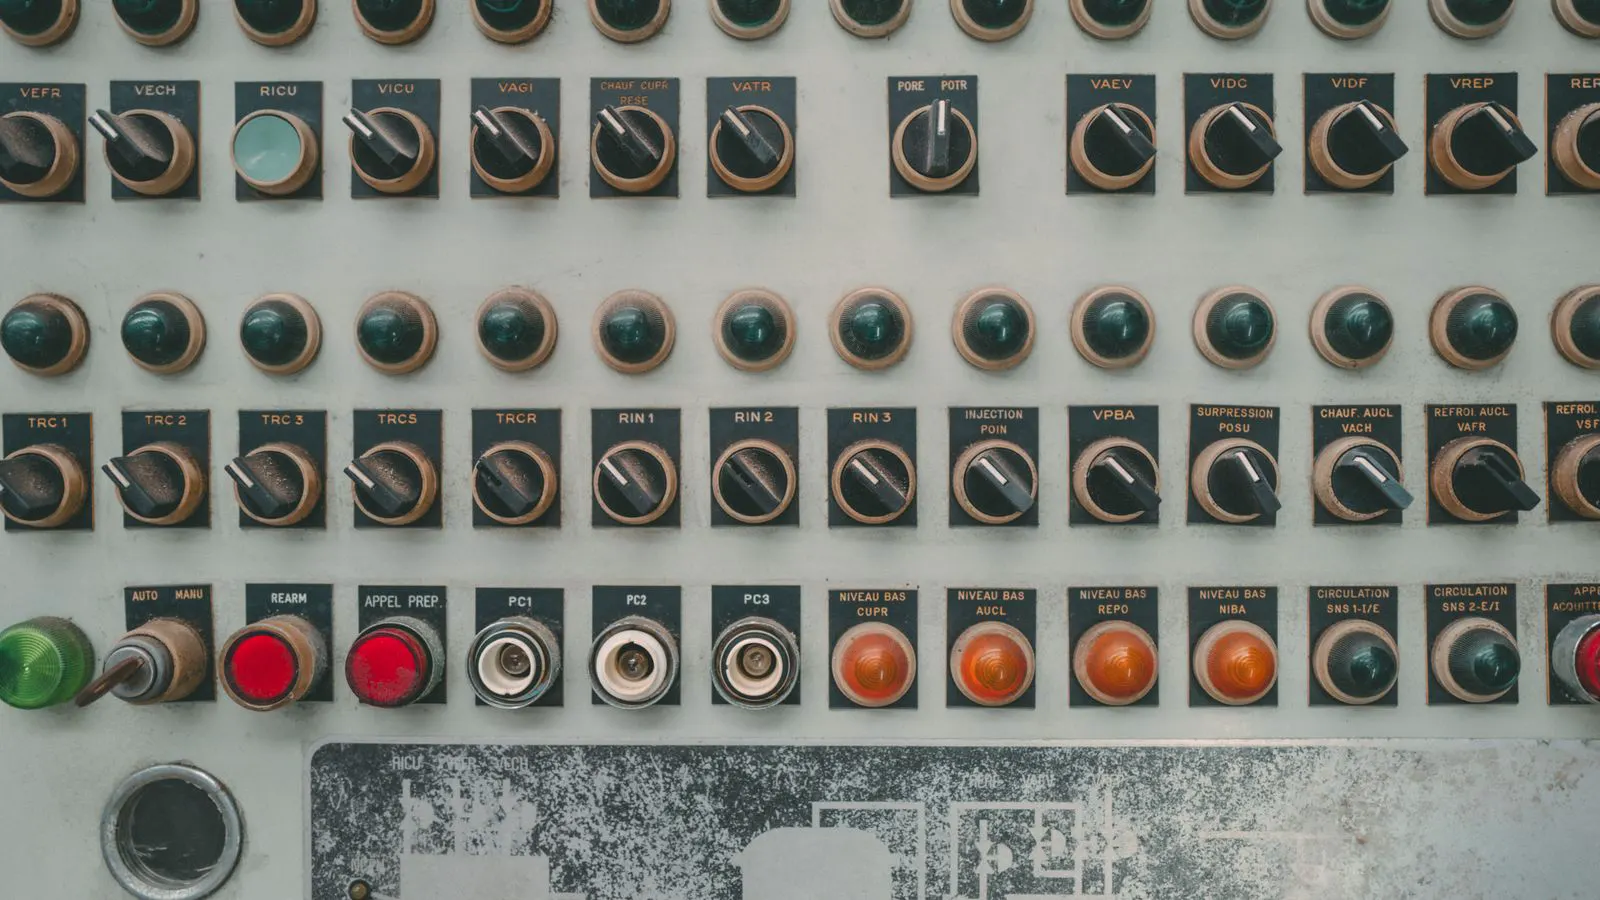
5. Alarms and Control Cabinet
The control cabinet houses the electronics and drives. Heat is the enemy of these components. Check the cabinet filters. Dust buildup reduces airflow and increases temperature. Clean the filters if they are dirty. Check the cabinet fans. If a fan is slow or noisy, replace it. Look for warning lights on the control panel. A flashing light or error code needs attention. Do not ignore small alarms. They often point to a sensor fault, a drive limit, or a parameter change. Check the emergency stop button. Press it and confirm the machine stops immediately. Test the safety interlocks on the doors and guards. If a door opens and the machine does not stop, fix the interlock before use.
Red flags:
- Dirty or clogged filters.
- Slow or noisy fans.
- Warning lights or error codes.
- Faulty emergency stop.
- Open door without stop.
6. Safety Interlocks and Guards
Safety checks protect the operator and the machine. Check all guards and interlocks. Close a door and confirm the machine starts only when the door is closed. Open the door during a cycle and confirm the machine stops. Check the e-stop button. It should return cleanly and not stick. Look at the light curtains or safety mats if equipped. Test them with a hand or tool. If they fail, do not run the machine. Check the machine floor. Oil and coolant spills create slip hazards. Clean them immediately. Check for loose bolts on the machine frame and table. A loose table can shift during cutting and damage the workpiece or tool.
Red flags:
- Door interlock fails to stop the machine.
- E-stop button sticks or returns slowly.
- Safety curtain or mat fault.
- Oil or coolant on the floor.
- Loose table or frame bolts.
7. Chips and Drainage
Chips can jam the machine and cause damage. Check the chip conveyor or chip pan. Remove chips before they reach the ways or the spindle. Check the chip drain. If it is clogged, clean it. Look for chips in the coolant tank. They can clog the pump and filter. Check the vacuum or compressed air system if used for chip removal. The air pressure should be normal. A weak air jet does not clear chips. Also check the machine enclosure for chip buildup. Chips in the control cabinet can short circuits. Keep the cabinet clean and dry.
Red flags:
- Chips in the ways or guideways.
- Clogged chip drain or conveyor.
- Chips in the coolant tank.
- Weak chip removal air pressure.
- Chips inside the cabinet.
8. Electrical and Pneumatic Connections
Loose connections cause intermittent faults. Check the air pressure gauge. The pressure should match the machine’s requirement. Listen for air leaks. A hissing sound means a fitting is loose or a hose is damaged. Check the hoses for cracks or abrasion. Replace any damaged hose. Inspect the electrical connectors at the door and the way covers. Loose connectors can cause sensor faults. Check the wiring for heat damage. If a wire is discolored or smells hot, stop the machine. Check the limit switches and proximity sensors. Clean them with a dry cloth. Dust on a sensor can cause false signals.
Red flags:
- Low air pressure.
- Hissing air leaks.
- Cracked or worn hoses.
- Loose electrical connectors.
- Discolored wiring.
- Dirty sensors.
9. Workpiece and Fixture Check
The fixture must hold the workpiece securely. Check the fixture for damage or wear. Look for worn locators, pins, or clamps. A worn locator causes positioning error. Check the clamps for proper tension. They should be firm but not stripped. Check the table surface. Look for dents, scratches, or coolant damage. A damaged table can affect surface finish. Check the workpiece setup. Confirm that the workpiece is secured and will not shift during cutting. If the fixture is used for a new part, verify the setup with a test cut.
Red flags:
- Worn or damaged fixture locators.
- Loose or stripped clamps.
- Dented or scratched table.
- Workpiece movement during test cut.
10. Documentation and Reporting
A machine service routine only works if the findings are recorded. Keep a logbook or use the machine’s service log. Record the date, operator, and findings. Note any red flags. Report problems to maintenance immediately. Do not wait for the next shift. A small leak can become a major failure. A dirty filter can cause an alarm. A loose clamp can damage a part. The log helps technicians track patterns. If a leak appears every month, it may be a worn seal. If a sensor fails often, it may be a dirty contact. Keep the checklist updated. If a machine has a specific weak point, add it to the list.
Red flags:
- No record of daily checks.
- Repeated small leaks.
- Recurring sensor faults.
- Delayed reporting of issues.
Quick Reference Table
| Check Area | What to Look For | Action |
|---|---|---|
| Coolant | Level, contamination, pump noise | Top up, clean, or call maintenance |
| Hydraulics | Fluid level, leaks, pressure | Top up, fix leak, check gauge |
| Ways | Chips, oil, wear | Wipe, clean, lubricate |
| Spindle | Tool taper, noise, brake | Clean, test, inspect |
| Cabinet | Filters, fans, alarms | Clean, replace, clear alarm |
| Safety | Interlocks, e-stop, floor | Test, clean, fix |
| Chips | Drainage, conveyor, tank | Remove, clean, clear |
| Electrical | Hoses, connectors, sensors | Tighten, replace, clean |
| Fixture | Wear, clamps, table | Inspect, tighten, repair |
| Log | Findings, date, operator | Record, report, update |
How to Use This Checklist
Print the checklist or save it to a tablet. Keep it at the machine. Use it at the start of every shift. If a machine is used at night, do a quick check before the first job. Do not rush. A two minute check saves hours of downtime. If you find a red flag, stop the machine. Call maintenance. Do not try to fix electrical or hydraulic issues without training. A wrong repair can cause more damage. Keep the checklist simple. If it is too long, operators will skip it. Start with the ten points above. Add items only when a specific problem appears.
Final Note
Daily machine service is a habit. It protects the machine, the tooling, and the operator. It supports preventive maintenance and reduces the need for reactive repairs. Keep the checklist short, practical, and visible. Record the findings. Report problems early. A well maintained machine runs longer, cuts better, and costs less to fix.
Frequently asked questions
How long should a daily machine service take?
A basic daily check takes about five to ten minutes. It depends on the machine size and the number of checks. Keep the list short so operators can complete it without frustration.
Who should do the daily machine service?
The operator should do the daily checks. Maintenance should handle repairs and deeper preventive maintenance. The operator is closest to the machine and sees problems first.
What if a small leak is found during daily service?
Report it immediately. A small leak can become a big problem. Mark the area and tell maintenance. Do not ignore it or wait for the next shift.
Do I need to check the coolant every day?
Yes. Coolant level and condition affect tool life and surface finish. Check the level and look for contamination every day. Clean the nozzles if the spray is weak.
How often should I update the checklist?
Review it once a month or when a new problem appears. Add items for specific machine issues. Remove items that are no longer relevant. Keep it practical.